PostgreSQL is an open-source relational database management system (RDBMS) that is known for its reliability, scalability, and feature-rich functionalities. This how-to guide will cover the PostgreSQL definition, its uses, and instructions on how to install and configure it. We’ll also discuss the steps on how to use PostgreSQL after you finish the process of installation on Windows.
Introduction to PostgreSQL
PostgreSQL is a relational database management system (RDBMS) that uses and extends the SQL language combined with other features that safely store and scale the most complicated data workloads. It provides a solid foundation for managing large volumes of data efficiently while ensuring data integrity and reliability.
PostgreSQL is the primary data store or data warehouse used for various analytics, mobile, web, and geospatial applications. It is widely used by developers, data analysts, and enterprises to efficiently store, manage, and retrieve structured data, and it is available on various operating systems, including Windows.
Downloading PostgreSQL
To download PostgreSQL, do the following steps:
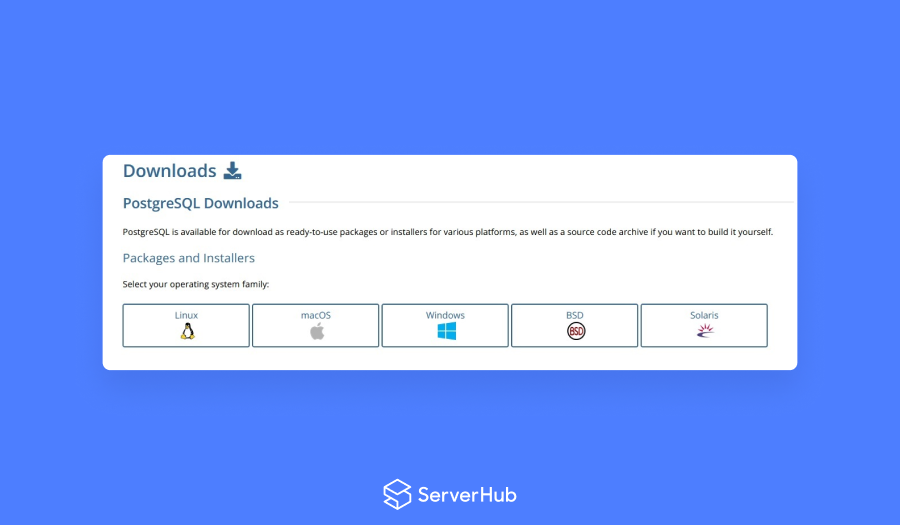
1. Go to the official PostgreSQL download site at https://www.postgresql.org/download/ and click on the Windows icon.
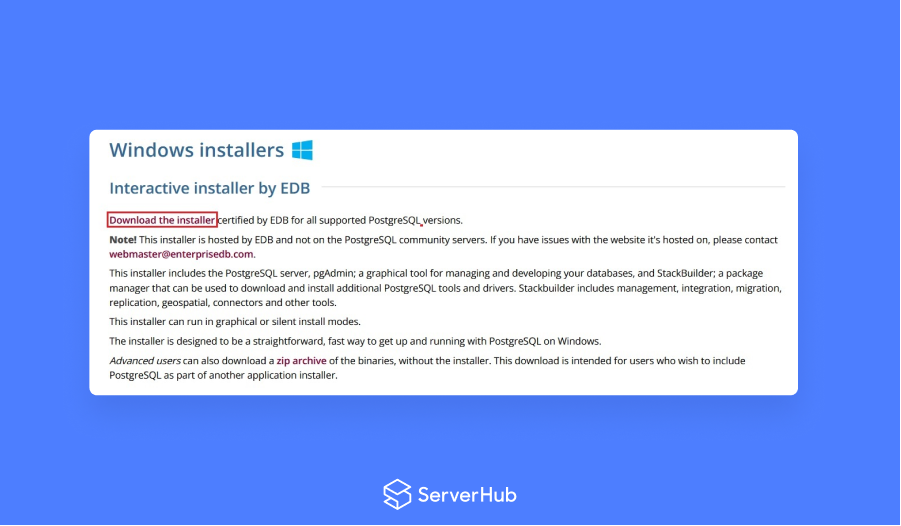
 2. In the Windows installer page, click on Download the installer.
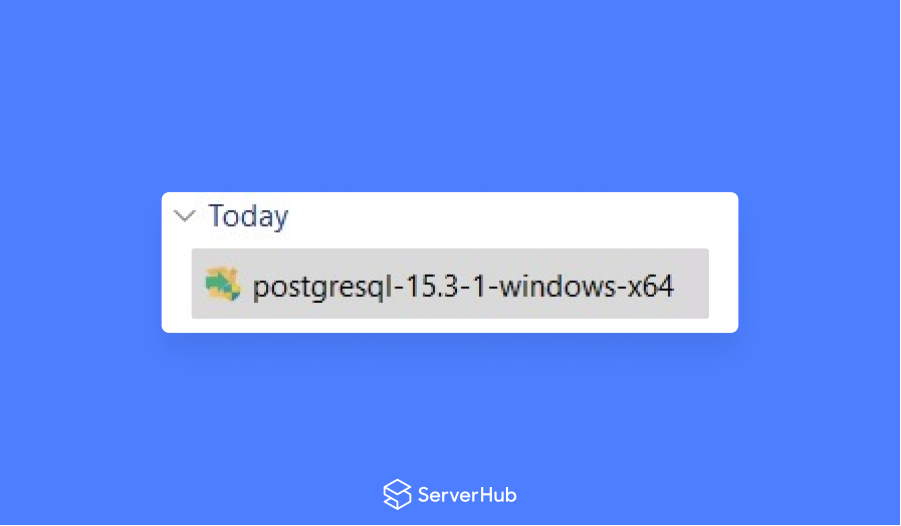
 3. In the Download PostgreSQL page, select the Windows installer package that is suited for the Windows system/version that you are using.

Installing and Configuring PostgreSQL
The following are the steps on how to install PostgreSQL in Windows and how to configure it:
1. After the Windows installer package is downloaded, double-click on it to launch the PostgreSQL installation wizard.
 2. In the installation wizard, you can customize various options. Choose the installation directory, data directory, and port number according to your preferences. You can also select the other components you want to install.
3. An important part of the installation process is to configure the PostgreSQL server. You will be asked to set a secure password for the PostgreSQL superuser account. This account will have full access to the PostgreSQL database. You can choose the default configuration settings or customize the configuration based on your needs.
4. After configuring the necessary and optional configuration settings, resume with the installation by clicking on the Next button. The installer will copy the required files and set up PostgreSQL on your Windows system. After the installation is complete, click on the Finish button to exit the installation wizard.
Using PostgreSQL
Once the installation is complete, you can do these steps to use PostgreSQL in Windows:
1. Go to the Start menu and search for PostgreSQL. Click on the PostgreSQL application to start the PostgreSQL service. You can also start the PostgreSQL using the command prompt.
2. To connect to PostgreSQL, you can use the pgAdmin application, which is a user-friendly tool for managing PostgreSQL databases. It also provides a GUI for creating, editing, and deleting database objects. You can download pgAdmin from its official download site and install it on your computer.
3. After you installed pgAdmin, launch it and connect it to the PostgreSQL server using the superuser account and password that you set during the installation process.
4. To create a database in PostgreSQL, right-click on the Databases folder in pgAdmin and select Create > Database. Enter the database name and click on the Save button. Another option in creating a database is using the psql command-line tool.
5. Once you create a database, you can perform various database operations such as creating tables, inserting data, updating data, and deleting data. You can use SQL statements or the graphical tools pgAdmin to perform these operations.
6. To create a table using pgAdmin, right-click on the Tables folder and select Create > Table. Enter the table name and column details. To insert data, right-click on the table and select View/Edit Data > All Rows. Enter the data and click on the Save button.
7. To query data from the tables, you can use SQL commands since PostgreSQL supports a wide range of SQL commands for managing data. To execute SQL commands using pgAdmin, click on the Query Tool icon and enter the SQL commands. Then click on the Execute button to run the commands.