
Python is a general-purpose programming language used for web development, desktop and business applications, and other applications. Python 3.11 is the latest release version as of April 2023.
In this guide, you will learn how to install Python 3 on Mac and Ubuntu, and how to download and configure it. Ubuntu 22.10 and macOS 13.3 are the latest versions covered in this article.
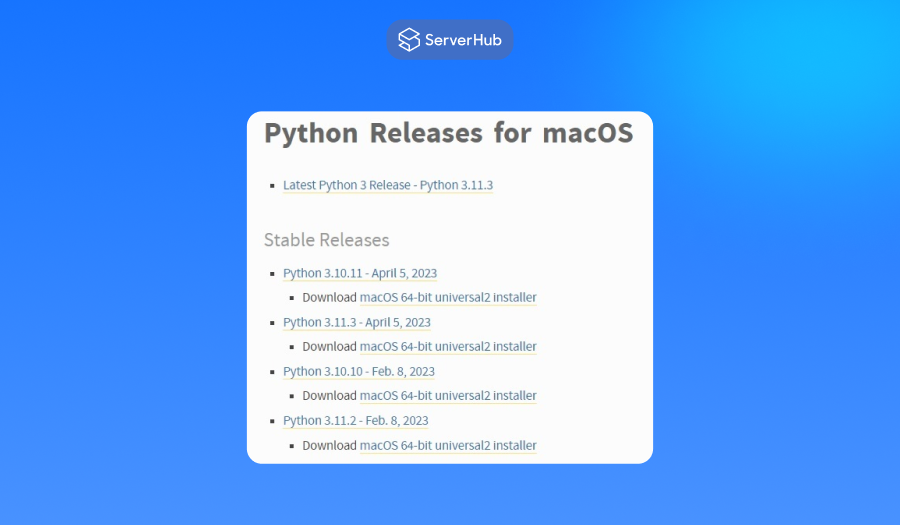
For macOS
How to download Python for Mac
- Go to the official Python download website.
- Below the download button, click on Python for macOS.

- In the Python Releases for macOS page, click to download the latest Python 3 version installer.
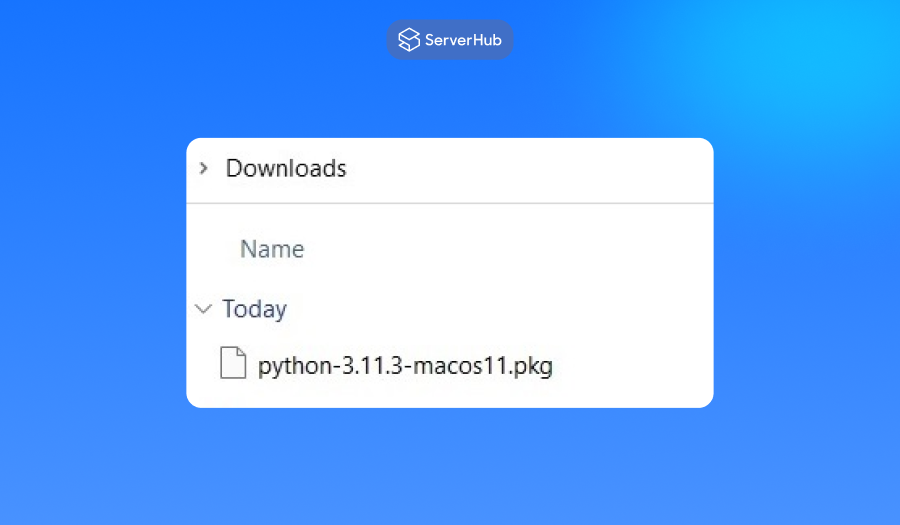
How to install Python on Mac
When the download is complete, double-click on the download package (.pkg) to begin the installation. Follow the instructions on how to install Python 3 on Mac.
To check if Python 3.11 is installed, enter the following command:
python3 --version
You should see the following output:
Python 3.11.0
How to configure Python for Mac
The main process on how to configure Python on Mac is by installing a package manager, which is a tool to manage Python packages and libraries. One of the most popular package managers is "pip".
1. To install the pip3 package manager, open the Terminal app. Enter the following command:
sudo easy_install3 pip
2. After pip is installed, use it to install the Python packages or libraries. To install a package, run this command:
pip install <package name>
3. Replace the package name with the package you want to install. For example, to install the NumPy library, type the following command:
pip install numpy
You can use this method to install other packages.
For Ubuntu
How to download Python for Ubuntu
- Open the Terminal by pressing Ctrl + Alt + T on your keyboard.
- Update your local system's repository by entering the following command:
sudo apt update - Install the required dependencies to build Python by running this command:
sudo apt install build-essential zlib1g-dev libncurses5-dev libgdbm-dev libnss3-dev libssl-dev libreadline-dev libffi-dev wget - Download the Python 3.11 source code from the official website using the following command:
wget https://www.python.org/ftp/python/3.11.0/Python-3.11.0.tgz - Extract the downloaded archive with this command:
tar -xf Python-3.11.0.tgz
After the archive is extracted, the next steps will be how to install Python on Ubuntu.
How to install Python on Ubuntu
- Go to the extracted directory with this command:
cd Python-3.11.0 - Configure the build by entering the following command
./configure --enable-optimizations - Build and install Python using the command below:
make -j $(nproc)
sudo make altinstall
Note: The 'altinstall' command is used instead of to avoid overwriting the default system Python installation. - To verify if Python 3.11 is installed, run the following command:
python3.11 --version
How to configure Python for Ubuntu
Configuring Python generally involves setting up the default version, creating a virtual environment, and installing necessary modules or packages.
Setting a new default version
By default, Python 3.9 is pre-installed on Ubuntu 22.10. Follow these steps to change the Python version in Ubuntu:
1. Open the Terminal app. Run the following command:
sudo update-alternatives --install /usr/bin/python python /usr/bin/python3.9 2
2. To set Python 3.11 as the default version, run this command:
sudo update-alternatives --install /usr/bin/python3 python3 /usr/bin/python3.11 1
This will prompt the system to use Python 3.11 when you run "python3" in the Terminal. Use this method for updated versions that you will install in your system.
Creating a virtual environment and installing a module
1. Open the Terminal app. Run the following command:
python3.11 -m venv myenv
This creates a new virtual environment named 'myenv' in the current directory.
2. To activate the virtual environment, run the following command:
source myenv/bin/activate
This changes your prompt to indicate that you are now working inside the virtual environment.
3. To install a module, type the command below:
pip install <module-name>
For example, to install the 'numpy' module, run this command:
pip install numpy
4. When you finish working in the virtual environment, deactivate it by running this command:
deactivate
Note:
Since Ubuntu is a Linux distribution, the steps to install Python on Ubuntu are similar to how to install Python on Linux distributions. The similarities also apply to downloading and configuring Python on other distributions. However, there are some differences depending on the specific distribution and version. Therefore, when downloading, installing, and configuring Python on a specific Linux distribution, refer to the official guide of that distribution.